Introduction
Wall art doesn’t hang crooked by accident—it happens because the hanging point is slightly off. Even a few millimeters makes a visible difference.
Most people think the problem is the frame or the wall. It’s not.
It’s the way the position is measured and transferred.
Here’s exactly what’s going wrong—and how to fix it so it doesn’t happen again.
The Real Reason Frames End Up Crooked
You’re marking the wrong point
A common mistake is measuring from the top of the frame instead of the actual hanging hardware on the back.
That small gap difference throws everything off.
You rely on visual alignment
Trying to “line it up by eye” works until you step back.
Then you notice:
- one side slightly higher
- uneven spacing
- frames that don’t line up
Your eyes aren’t precise enough for this.
You adjust after drilling
Once a hole is made, people try to “fix” it by:
- shifting the frame
- re-measuring
- adding another hole
That usually makes things worse, not better.
How to Fix Crooked Wall Art (Step-by-Step)
Step 1: Use the hanging point, not the frame edge
Always mark where the hook or wire actually sits—not the top of the frame.
This is the most important correction.
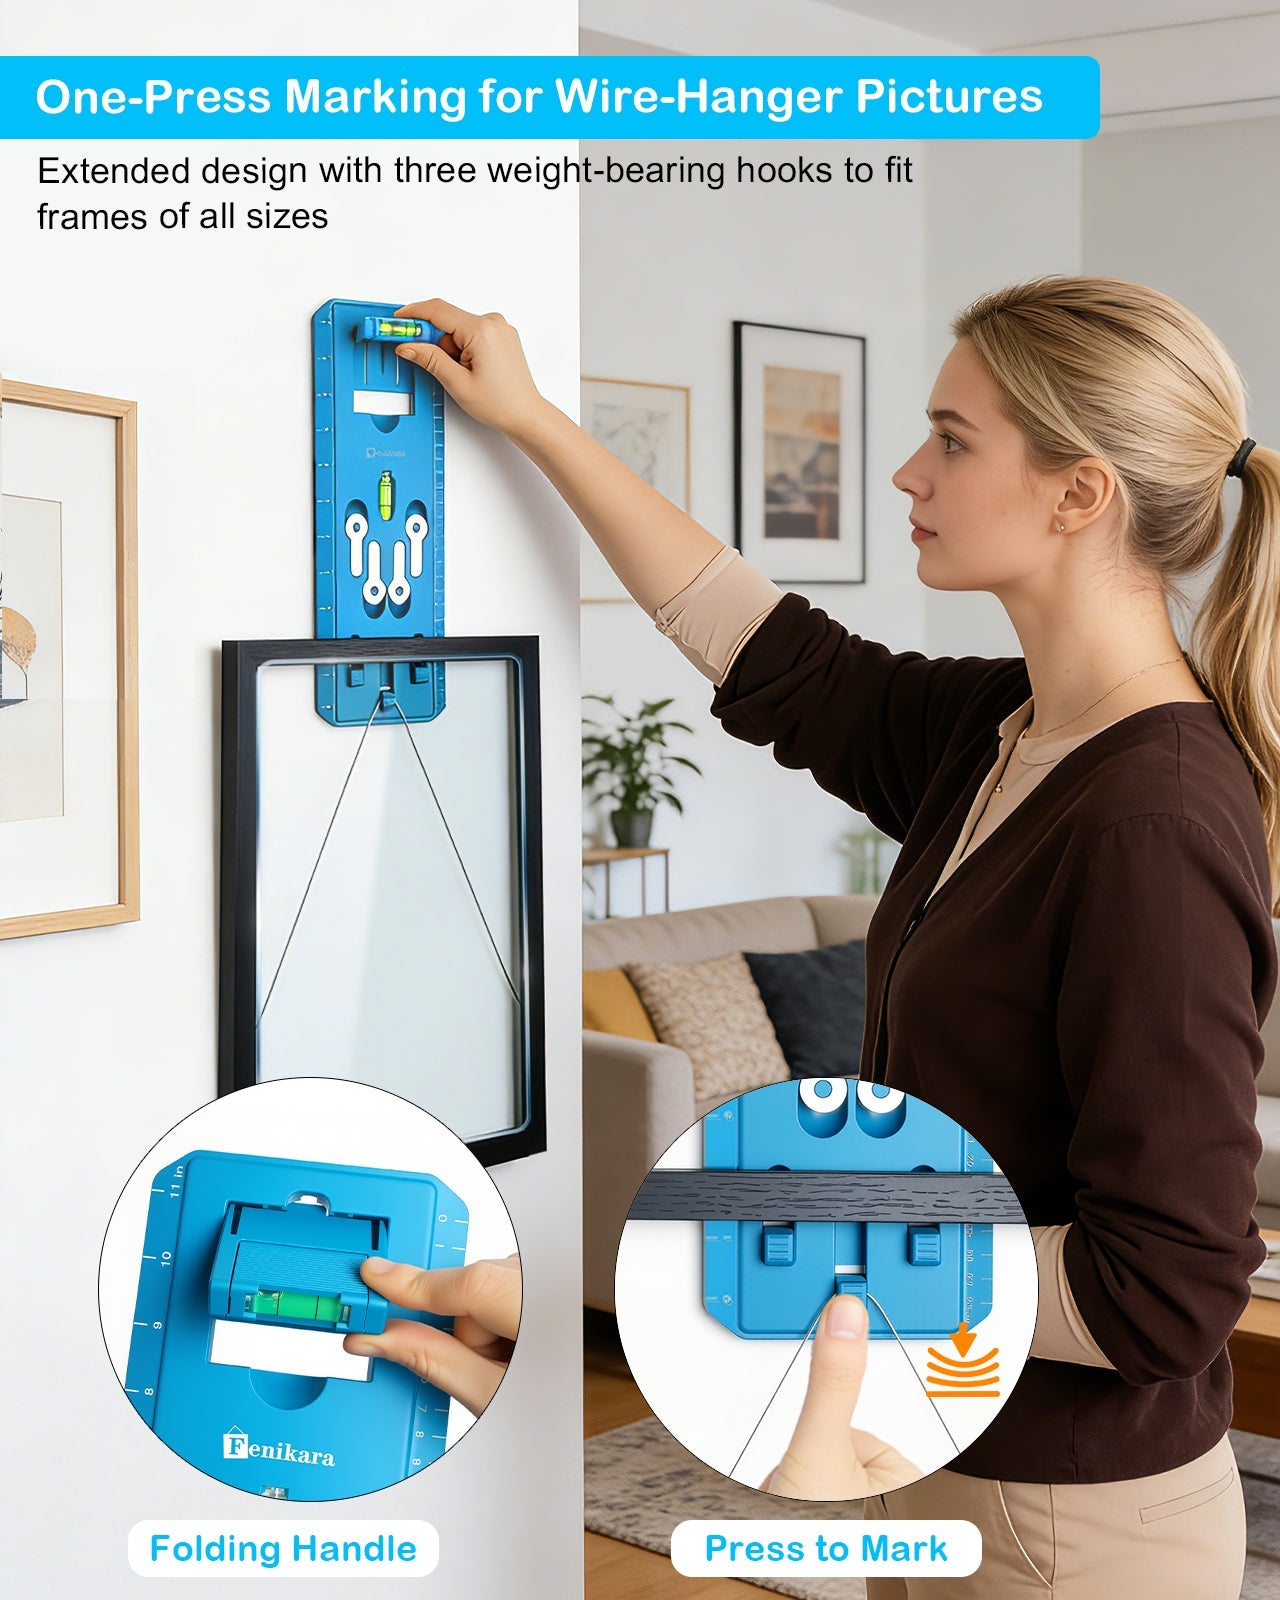
Step 2: Transfer the position directly to the wall
Instead of measuring distances manually, transfer the exact point from the frame to the wall.
This avoids calculation errors.
Step 3: Install once, not multiple times
If your marking is correct, you should only need:
- one hole
- one hook
- one adjustment (if any)
Multiple holes usually mean the marking step was wrong.
Step 4: Check alignment at eye level
Don’t judge alignment up close.
Step back 6–8 feet and look straight on. That’s how it will actually be seen.
The Fastest Way to Avoid This Problem Entirely
Most alignment issues come from one habit: manual measuring.
That’s where small errors stack up.
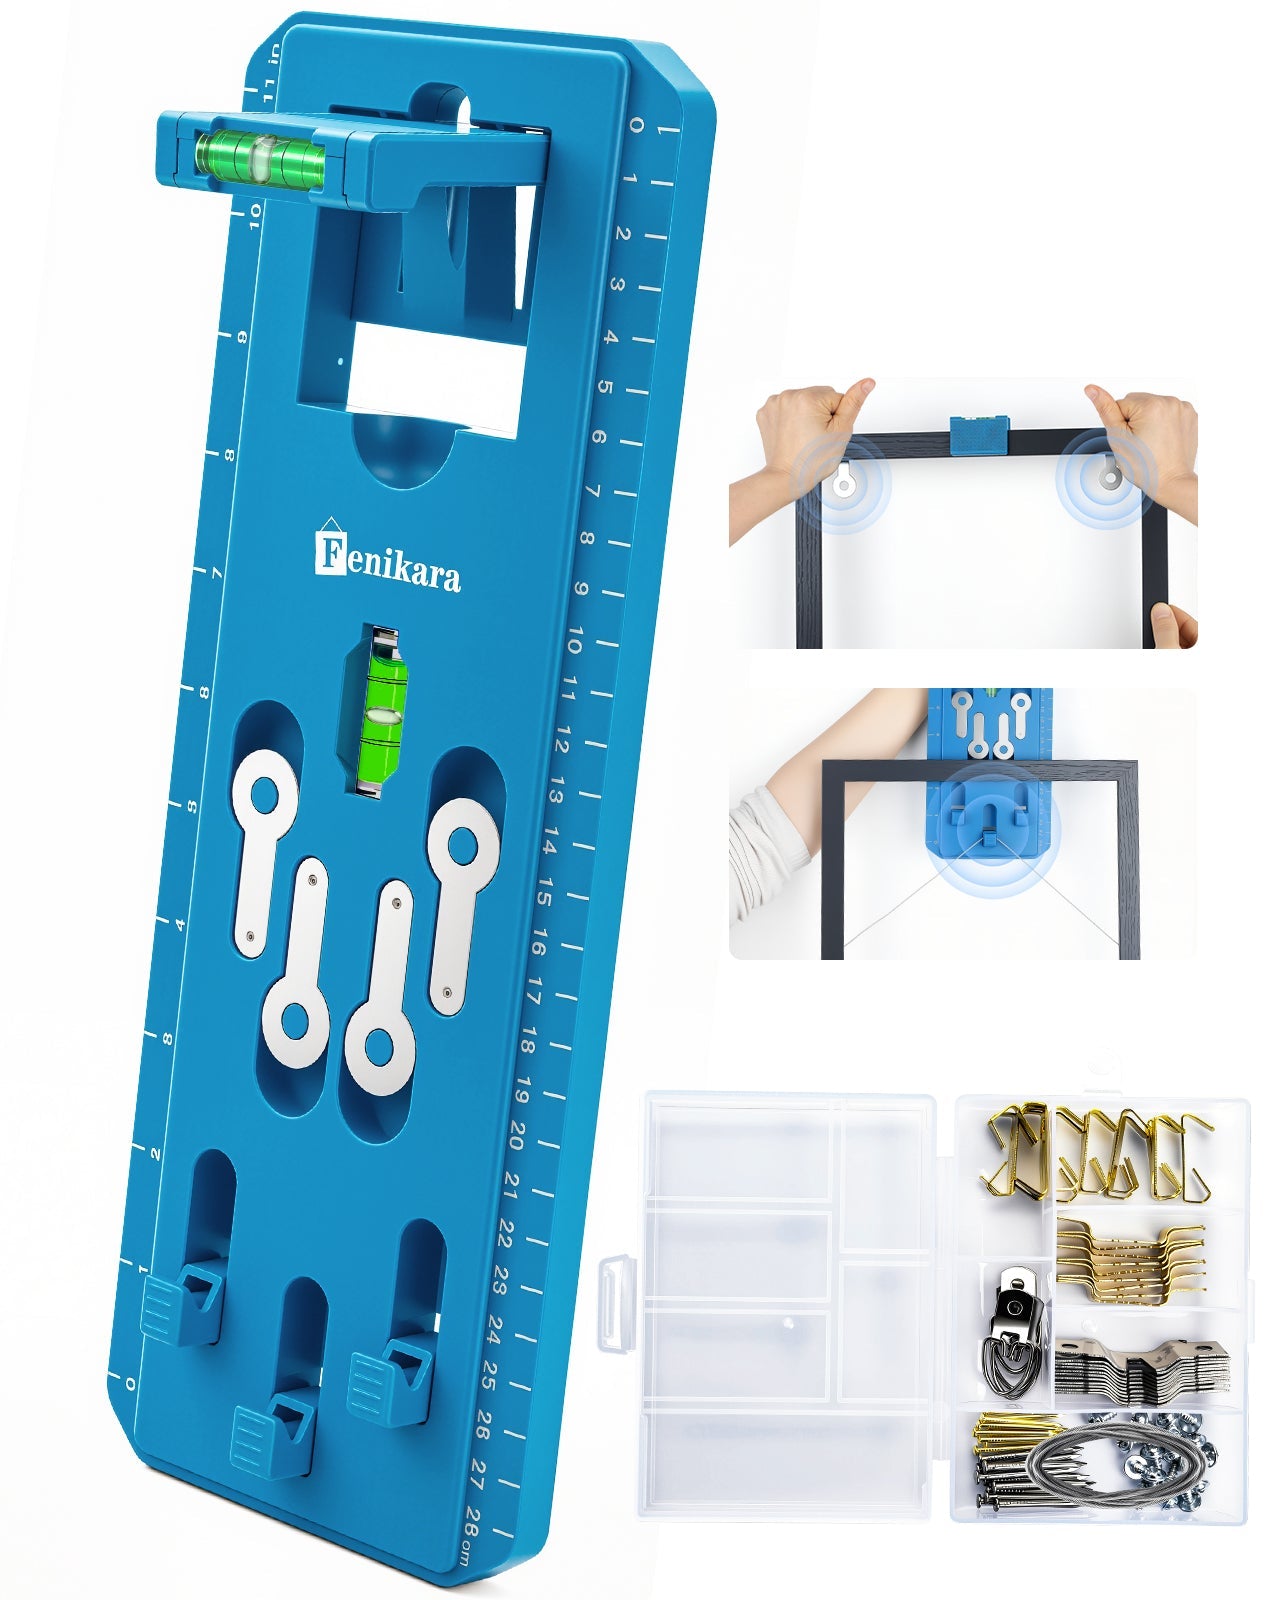
A positioning-based picture hanging kit removes that step by letting you:
- mark exact points
- keep spacing consistent
- avoid repeated adjustments
It’s not about adding tools—it’s about removing guesswork.
Why Command Strips Don’t Fix Crooked Frames
Command strips solve one problem: wall damage.
They don’t solve:
- alignment
- spacing
- positioning accuracy
So even if the frame stays up, it can still look off.
That’s why people often end up redoing the placement.
Signs You Need a Better Hanging Method
If any of these happen, your current method isn’t working:
- You’ve made more than one hole for a single frame
- Frames don’t line up even after measuring
- You adjust placement after hanging
- Spacing looks inconsistent
All of these point to the same issue: inaccurate marking before installation.
Practical Tips That Actually Work
- Always mark before installing anything
- Use one reference point for multiple frames
- Keep spacing consistent (2–3 inches works well)
- Don’t rely on measuring tape alone
- Avoid “trial and error” hanging
These small changes make a bigger difference than switching tools randomly.
FAQ
Why does my frame look straight up close but crooked from far away?
Because small alignment errors become more visible at a distance.
How accurate does the hanging point need to be?
Within a few millimeters. Anything more will be noticeable.
Can I fix a crooked frame without making another hole?
Sometimes, but if the original mark is off, a new placement is usually needed.
Do heavier frames make this worse?
Yes. Weight makes misalignment more noticeable and harder to adjust.
What’s the easiest way to avoid crooked wall art?
Mark the exact hanging point before installing anything instead of measuring manually.
Final Thoughts
Crooked wall art isn’t random—it’s the result of small positioning errors during setup. Fix the marking step, and the problem disappears.
Once you get that part right, everything else becomes simple.