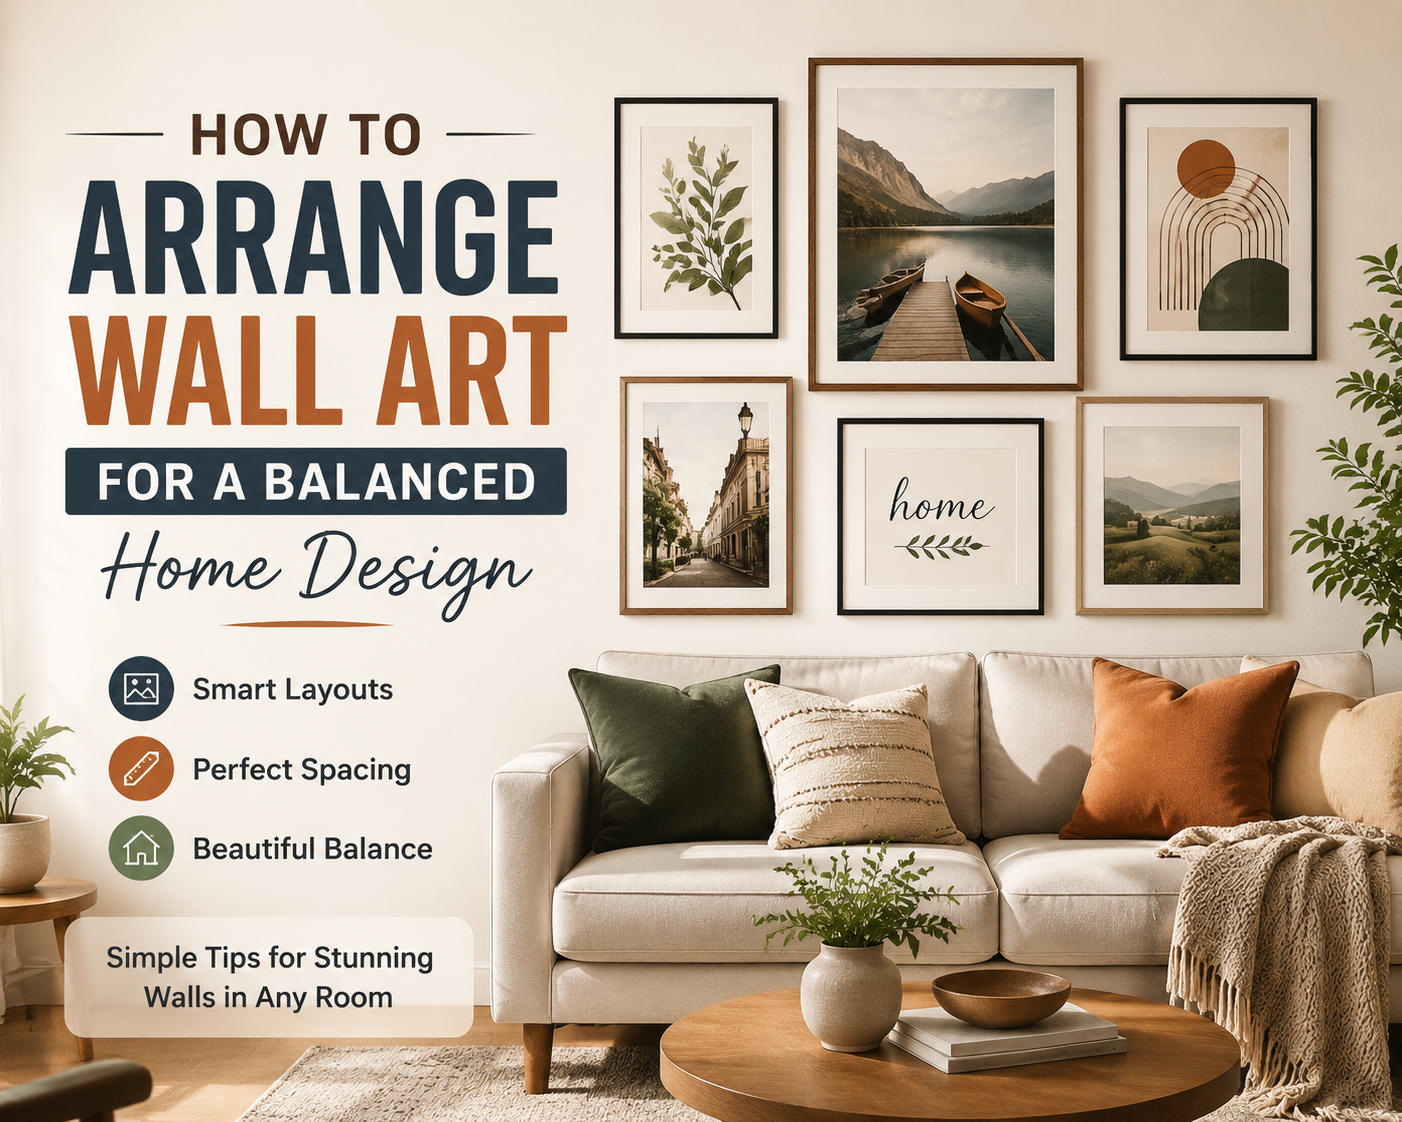
How to Arrange Wall Art for a Balanced Home Design
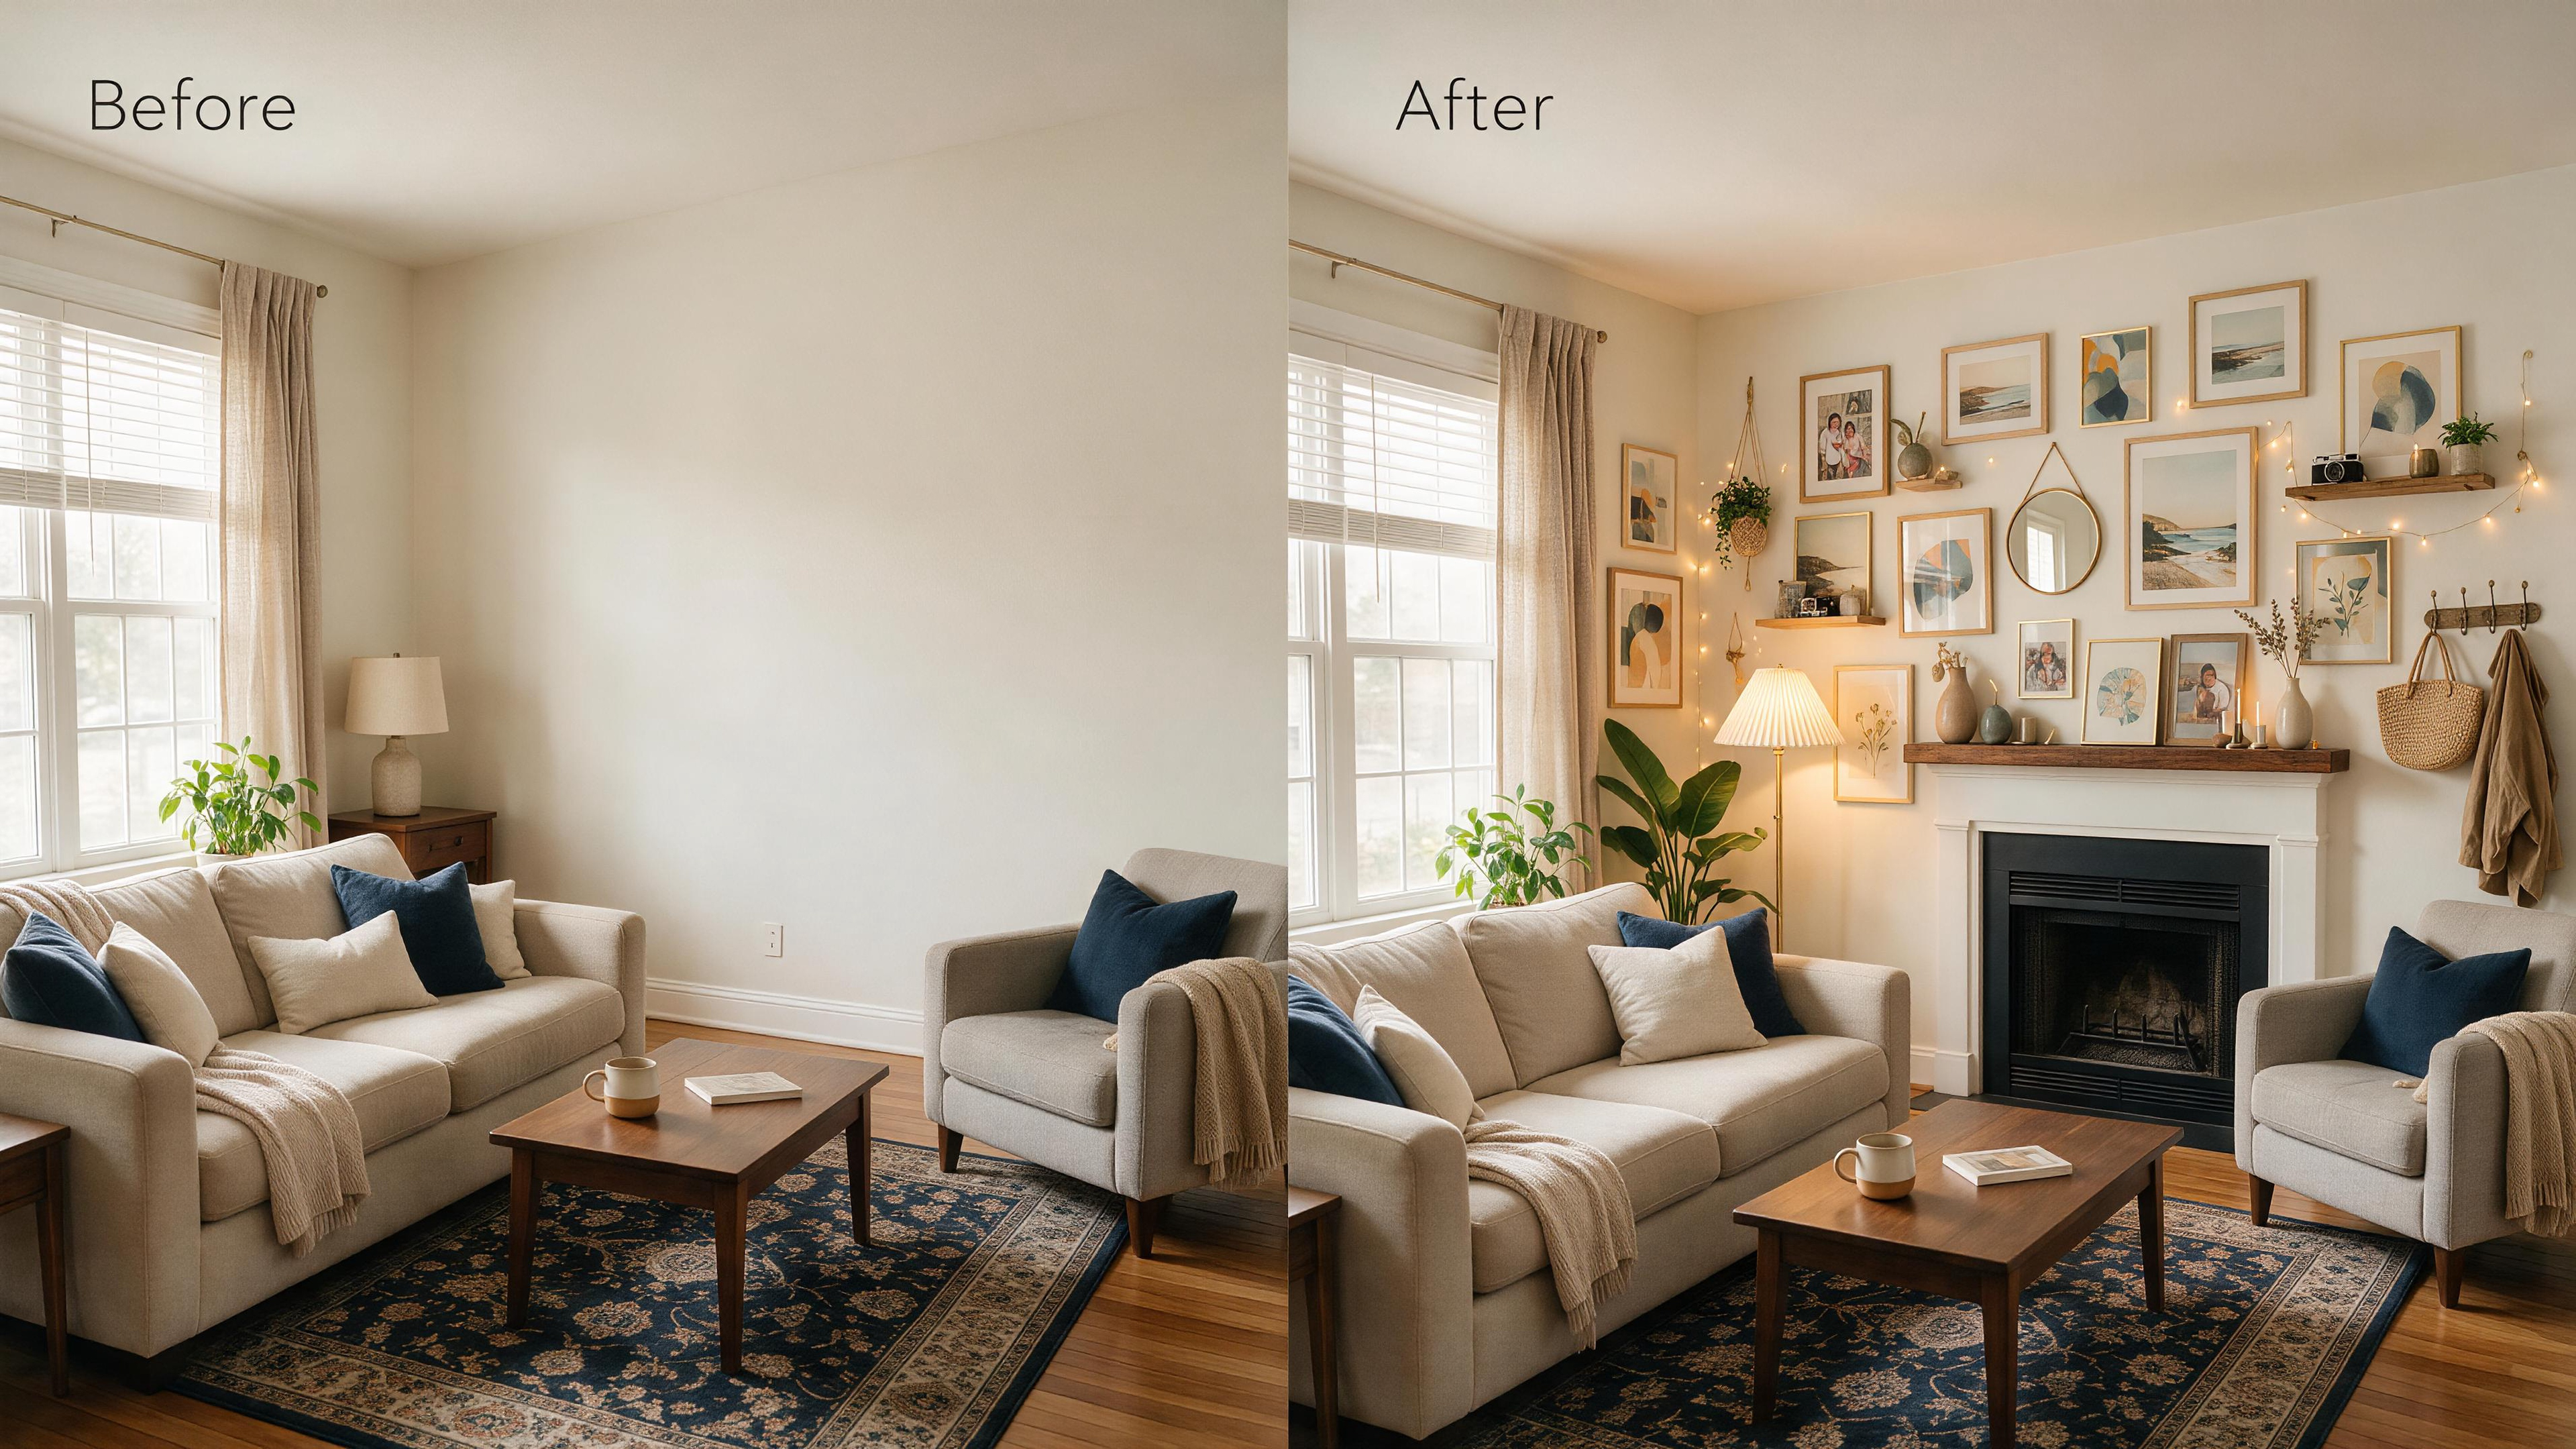
Wall art is one of the easiest ways to transform a room. A few carefully placed pictures can make an empty wall feel warm, personal, and stylish. However, many homeowners struggle with finding the right position, choosing the best layout, and making sure every frame looks balanced.
A wall filled with artwork does not always create a better design. Without proper planning, pictures can look uneven, crowded, or disconnected from the rest of the room.
Whether you are decorating a living room, bedroom, hallway, or home office, understanding basic wall art placement principles can help you create a professional-looking space without hiring an interior designer.
In this guide, we will share practical tips on how to arrange wall art, choose the right layout, and hang pictures evenly for a balanced home design.
Start With the Wall Space and Room Layout
Before hanging any artwork, take a moment to look at the wall and the surrounding furniture.
The size of your wall should influence the size and number of pictures you choose.
For large empty walls:
- Consider using larger artwork
- Create a gallery wall with multiple frames
- Use a balanced arrangement instead of placing one small picture in a large space
For smaller walls:
- Choose fewer pieces
- Avoid overcrowding
- Keep the design simple
The goal is to make the artwork feel connected to the room rather than looking randomly placed.
Choose a Wall Art Layout Before Hanging
One of the biggest mistakes people make is hanging pictures before deciding on the overall layout.
Planning the arrangement first helps avoid unnecessary holes and adjustments.
Here are some popular wall art layouts:
Grid Layout
A grid layout uses frames with equal spacing and alignment. It works especially well for:
- Family photos
- Modern home designs
- Office walls
The clean lines create a structured and organized appearance.
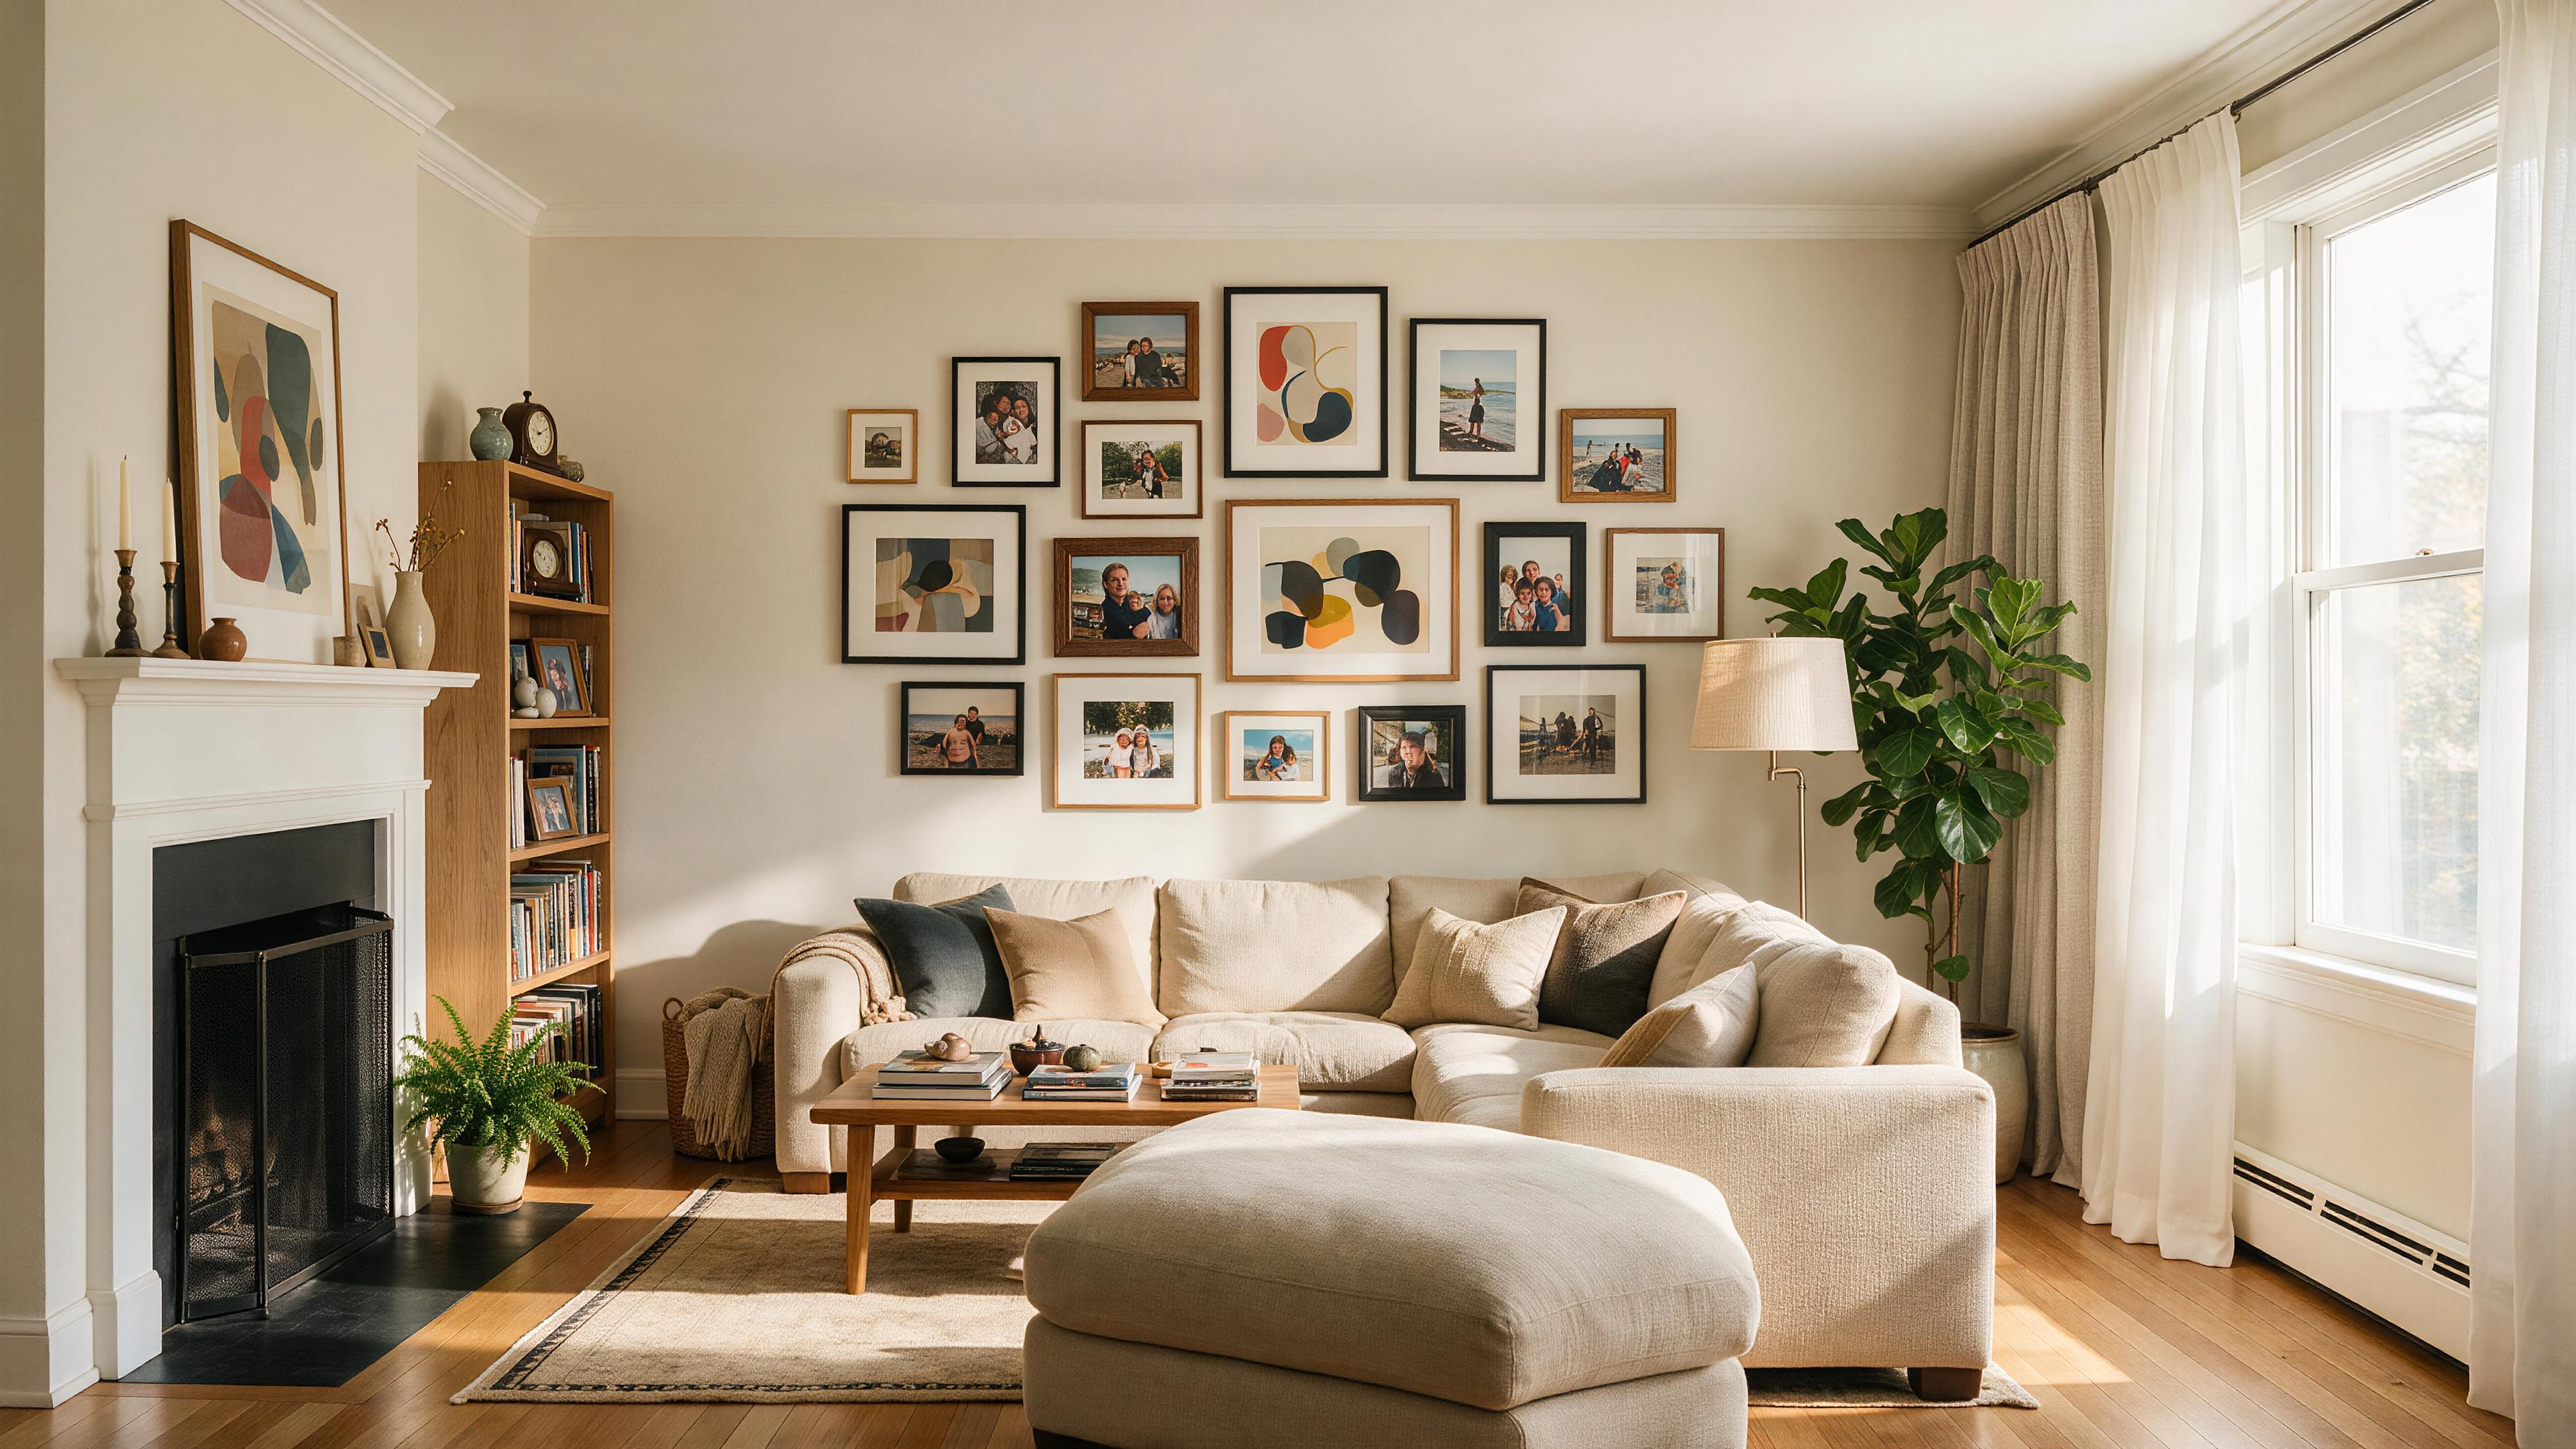
Gallery Wall Layout
A gallery wall combines different frame sizes and artwork styles.
This style works well for:
- Living rooms
- Stairway walls
- Hallways
The key is creating visual balance. Even with different sizes, the arrangement should feel intentional.
Single Statement Piece
A large piece of artwork can become the focal point of a room.
This approach works well above:
- Sofas
- Beds
- Fireplaces
- Dining areas
A single large picture often creates a simple but elegant look.
Keep Consistent Spacing Between Pictures
Spacing plays an important role in creating a professional wall design.
When frames are placed too close together, the wall can feel crowded. When they are too far apart, the arrangement may lose connection.
A good rule is to keep the spacing between frames consistent throughout the entire arrangement.
For gallery walls, many designers recommend leaving a similar gap between each piece so the collection looks organized.
Even small differences in spacing can become noticeable when multiple pictures are displayed together.
Find the Right Height for Wall Art
One common picture hanging mistake is placing artwork too high.
Many homeowners think pictures should be closer to the ceiling, but artwork usually looks better when it is positioned around eye level.
For living rooms and common areas:
- Keep artwork visually connected to furniture
- Avoid leaving large empty spaces between furniture and pictures
- Consider the average viewing height of people in the room
If hanging artwork above a sofa, the bottom of the frame should usually feel connected to the furniture instead of floating too high on the wall.
Consider the Room Style and Color Balance
Wall art should complement the room instead of competing with it.
Think about:
- Wall color
- Furniture style
- Lighting
- Existing decorations
For example:
Modern rooms often work well with:
- Minimal frames
- Simple artwork
- Symmetrical arrangements
Traditional spaces may look better with:
- Classic frames
- Family photos
- Decorative artwork
A balanced design does not mean everything must match perfectly. It means every element works together.
Plan Before Making Holes in the Wall
Many people start installing hooks immediately and realize later that the position is not correct.
A better approach is:
- Measure the available wall space
- Decide the layout
- Mark the approximate positions
- Check alignment
- Install hanging hardware
Taking a few extra minutes to plan can prevent multiple unnecessary holes and save time.
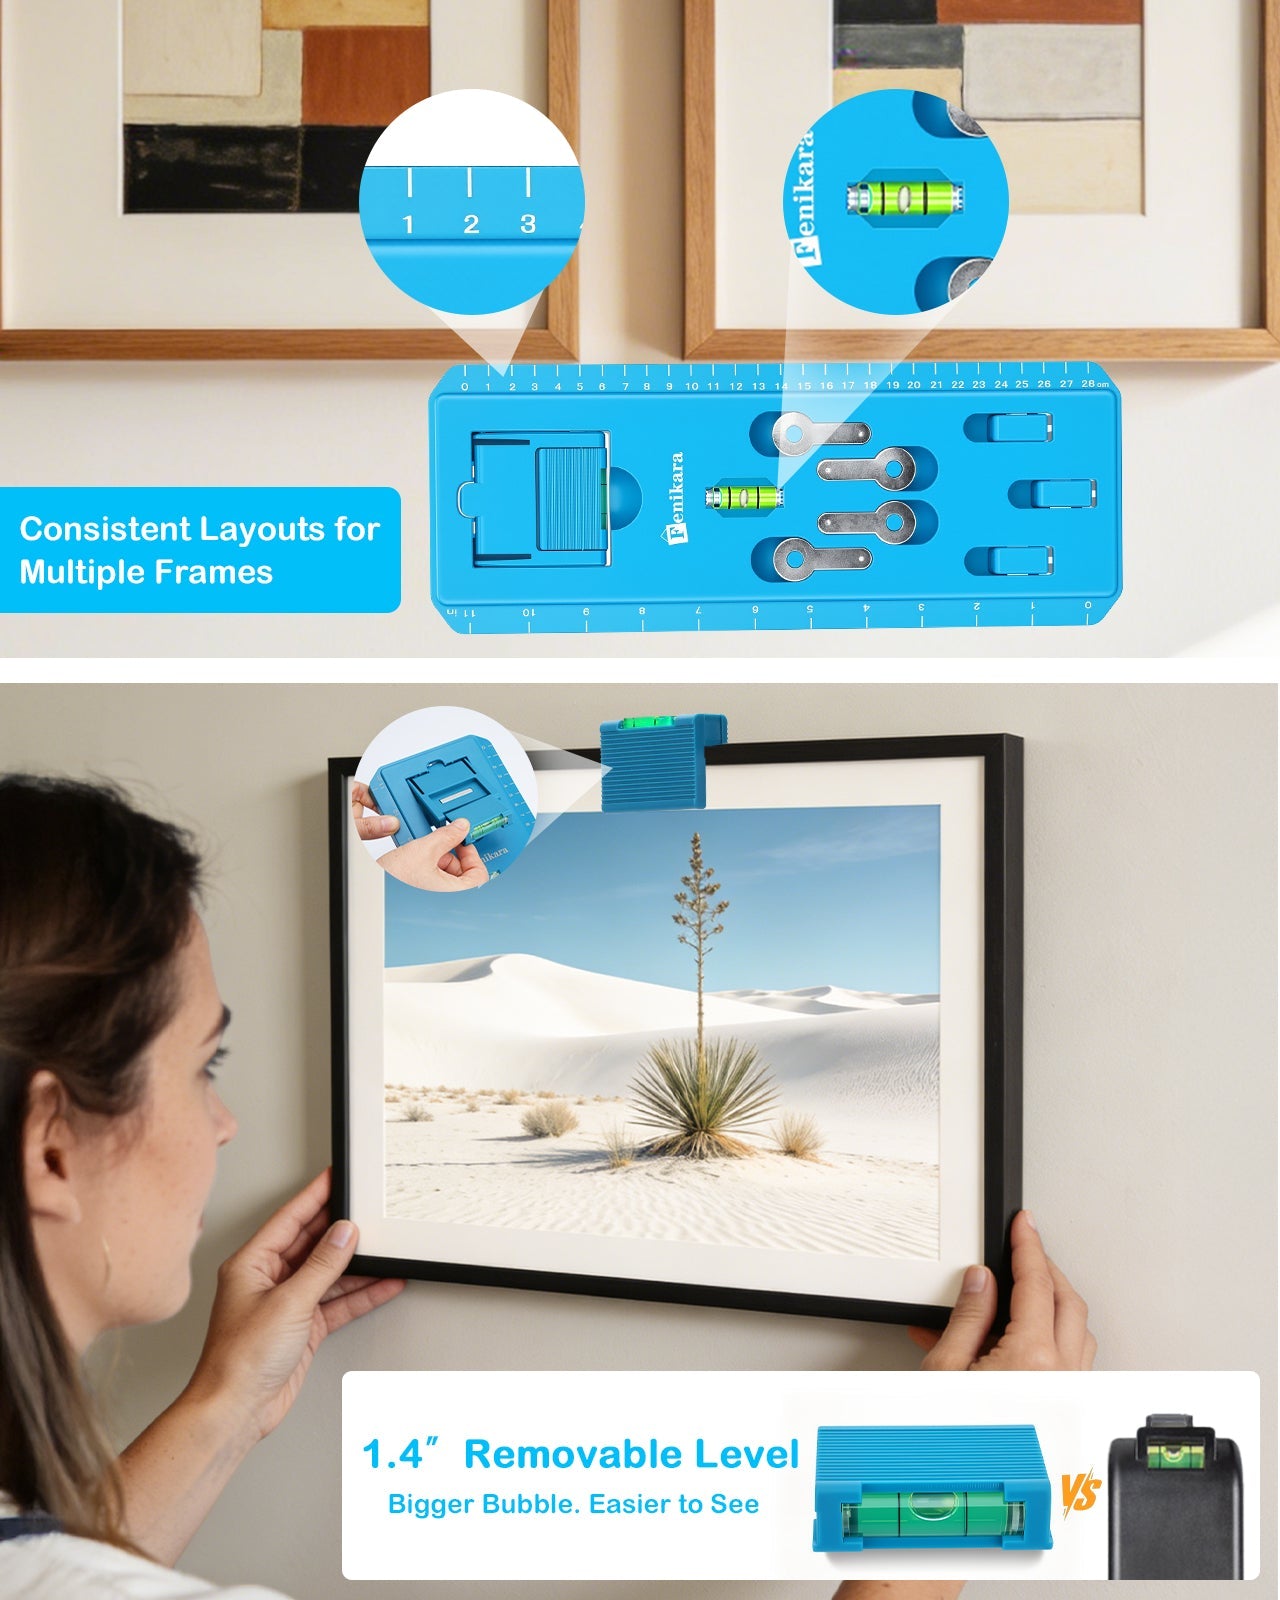
Using the right picture hanging tools can also make positioning easier, especially when installing multiple frames or creating a gallery wall.
Use the Right Tools for Accurate Picture Placement
Professional-looking results often come from using the right tools.
Basic tools such as:
- Measuring tape
- Level
- Pencil marks
- Picture hooks
can help with traditional installation.
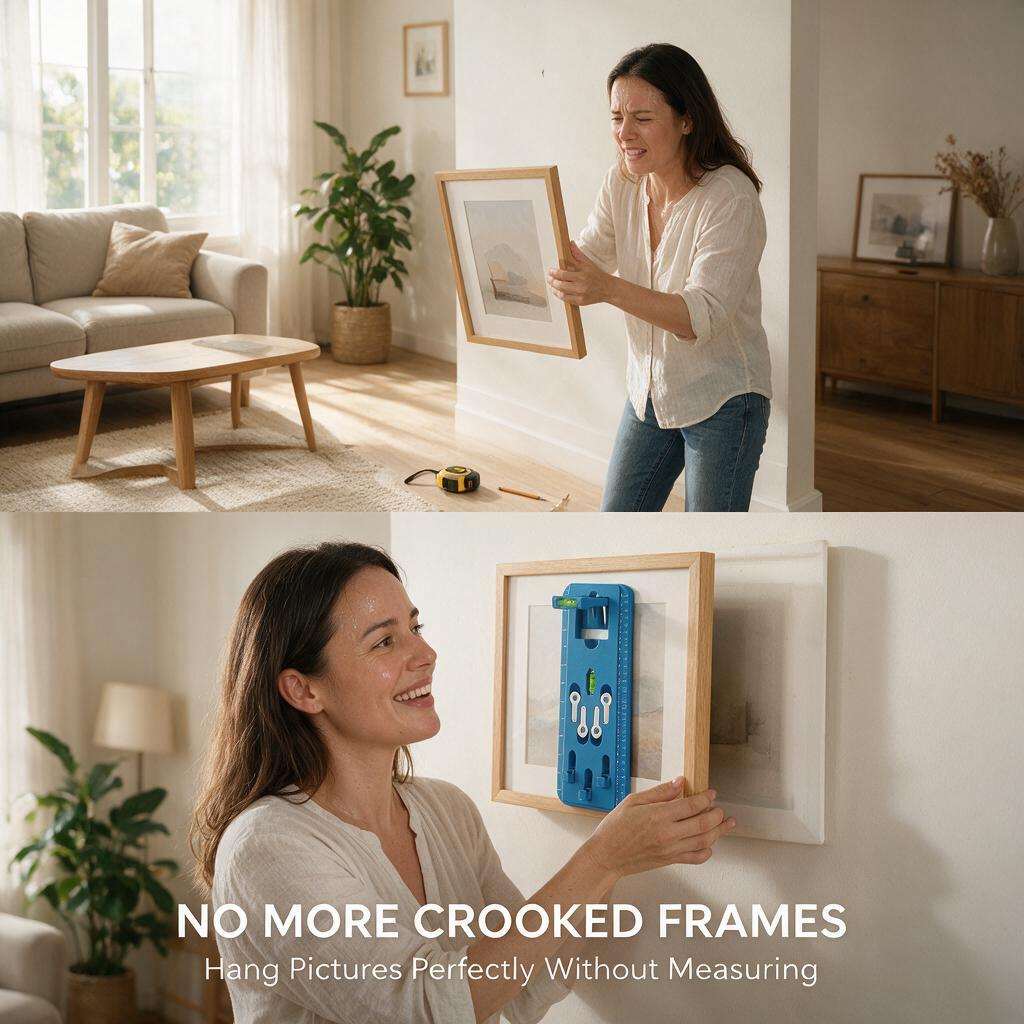
However, picture hanging tools are designed to simplify the process by helping homeowners position frames more accurately before installing hardware.
For people who frequently decorate their homes, update wall displays, or hang multiple pictures, having a dedicated picture hanging solution can make the process faster and easier.
How to Create a Professional Looking Wall Step by Step
Follow these simple steps:
Step 1: Choose Your Artwork
Select pictures that match your room style and personal taste.
Step 2: Plan the Arrangement
Place frames on the floor first or create a layout plan before mounting.
Step 3: Check Balance and Spacing
Make sure the arrangement looks even from different viewing angles.
Step 4: Mark the Wall
Carefully mark where hooks or mounting points should go.
Step 5: Hang and Adjust
Install your hardware, hang the pictures, and make final adjustments.
A little preparation can make a big difference in the final appearance.
Final Thoughts
Arranging wall art does not have to be difficult. With the right planning, spacing, and tools, anyone can create a beautiful and balanced wall display.
The most important steps are choosing the right layout, keeping consistent spacing, and taking time to position each frame correctly.
Whether you are decorating a new home or refreshing an existing space, thoughtful picture placement can completely change the atmosphere of a room.
For easier and more accurate picture installation, tools like the Fenikara Picture Hanging Kit can help homeowners create clean, professional-looking walls with less effort.
Frequently Asked Questions
How do you arrange pictures on a wall?
Start by choosing a layout, measuring your wall space, and planning the position of each frame before installation. Keeping consistent spacing and alignment helps create a balanced appearance.
How far apart should wall pictures be?
The spacing depends on the size and number of frames, but keeping the distance consistent between each piece usually creates the most professional look.
Should pictures be centered on the wall or furniture?
In most cases, artwork looks best when visually centered above furniture such as sofas, beds, or tables rather than only centered on the wall itself.
What is the easiest way to hang pictures evenly?
Planning the layout before drilling and using picture hanging tools can help improve accuracy and reduce mistakes.